
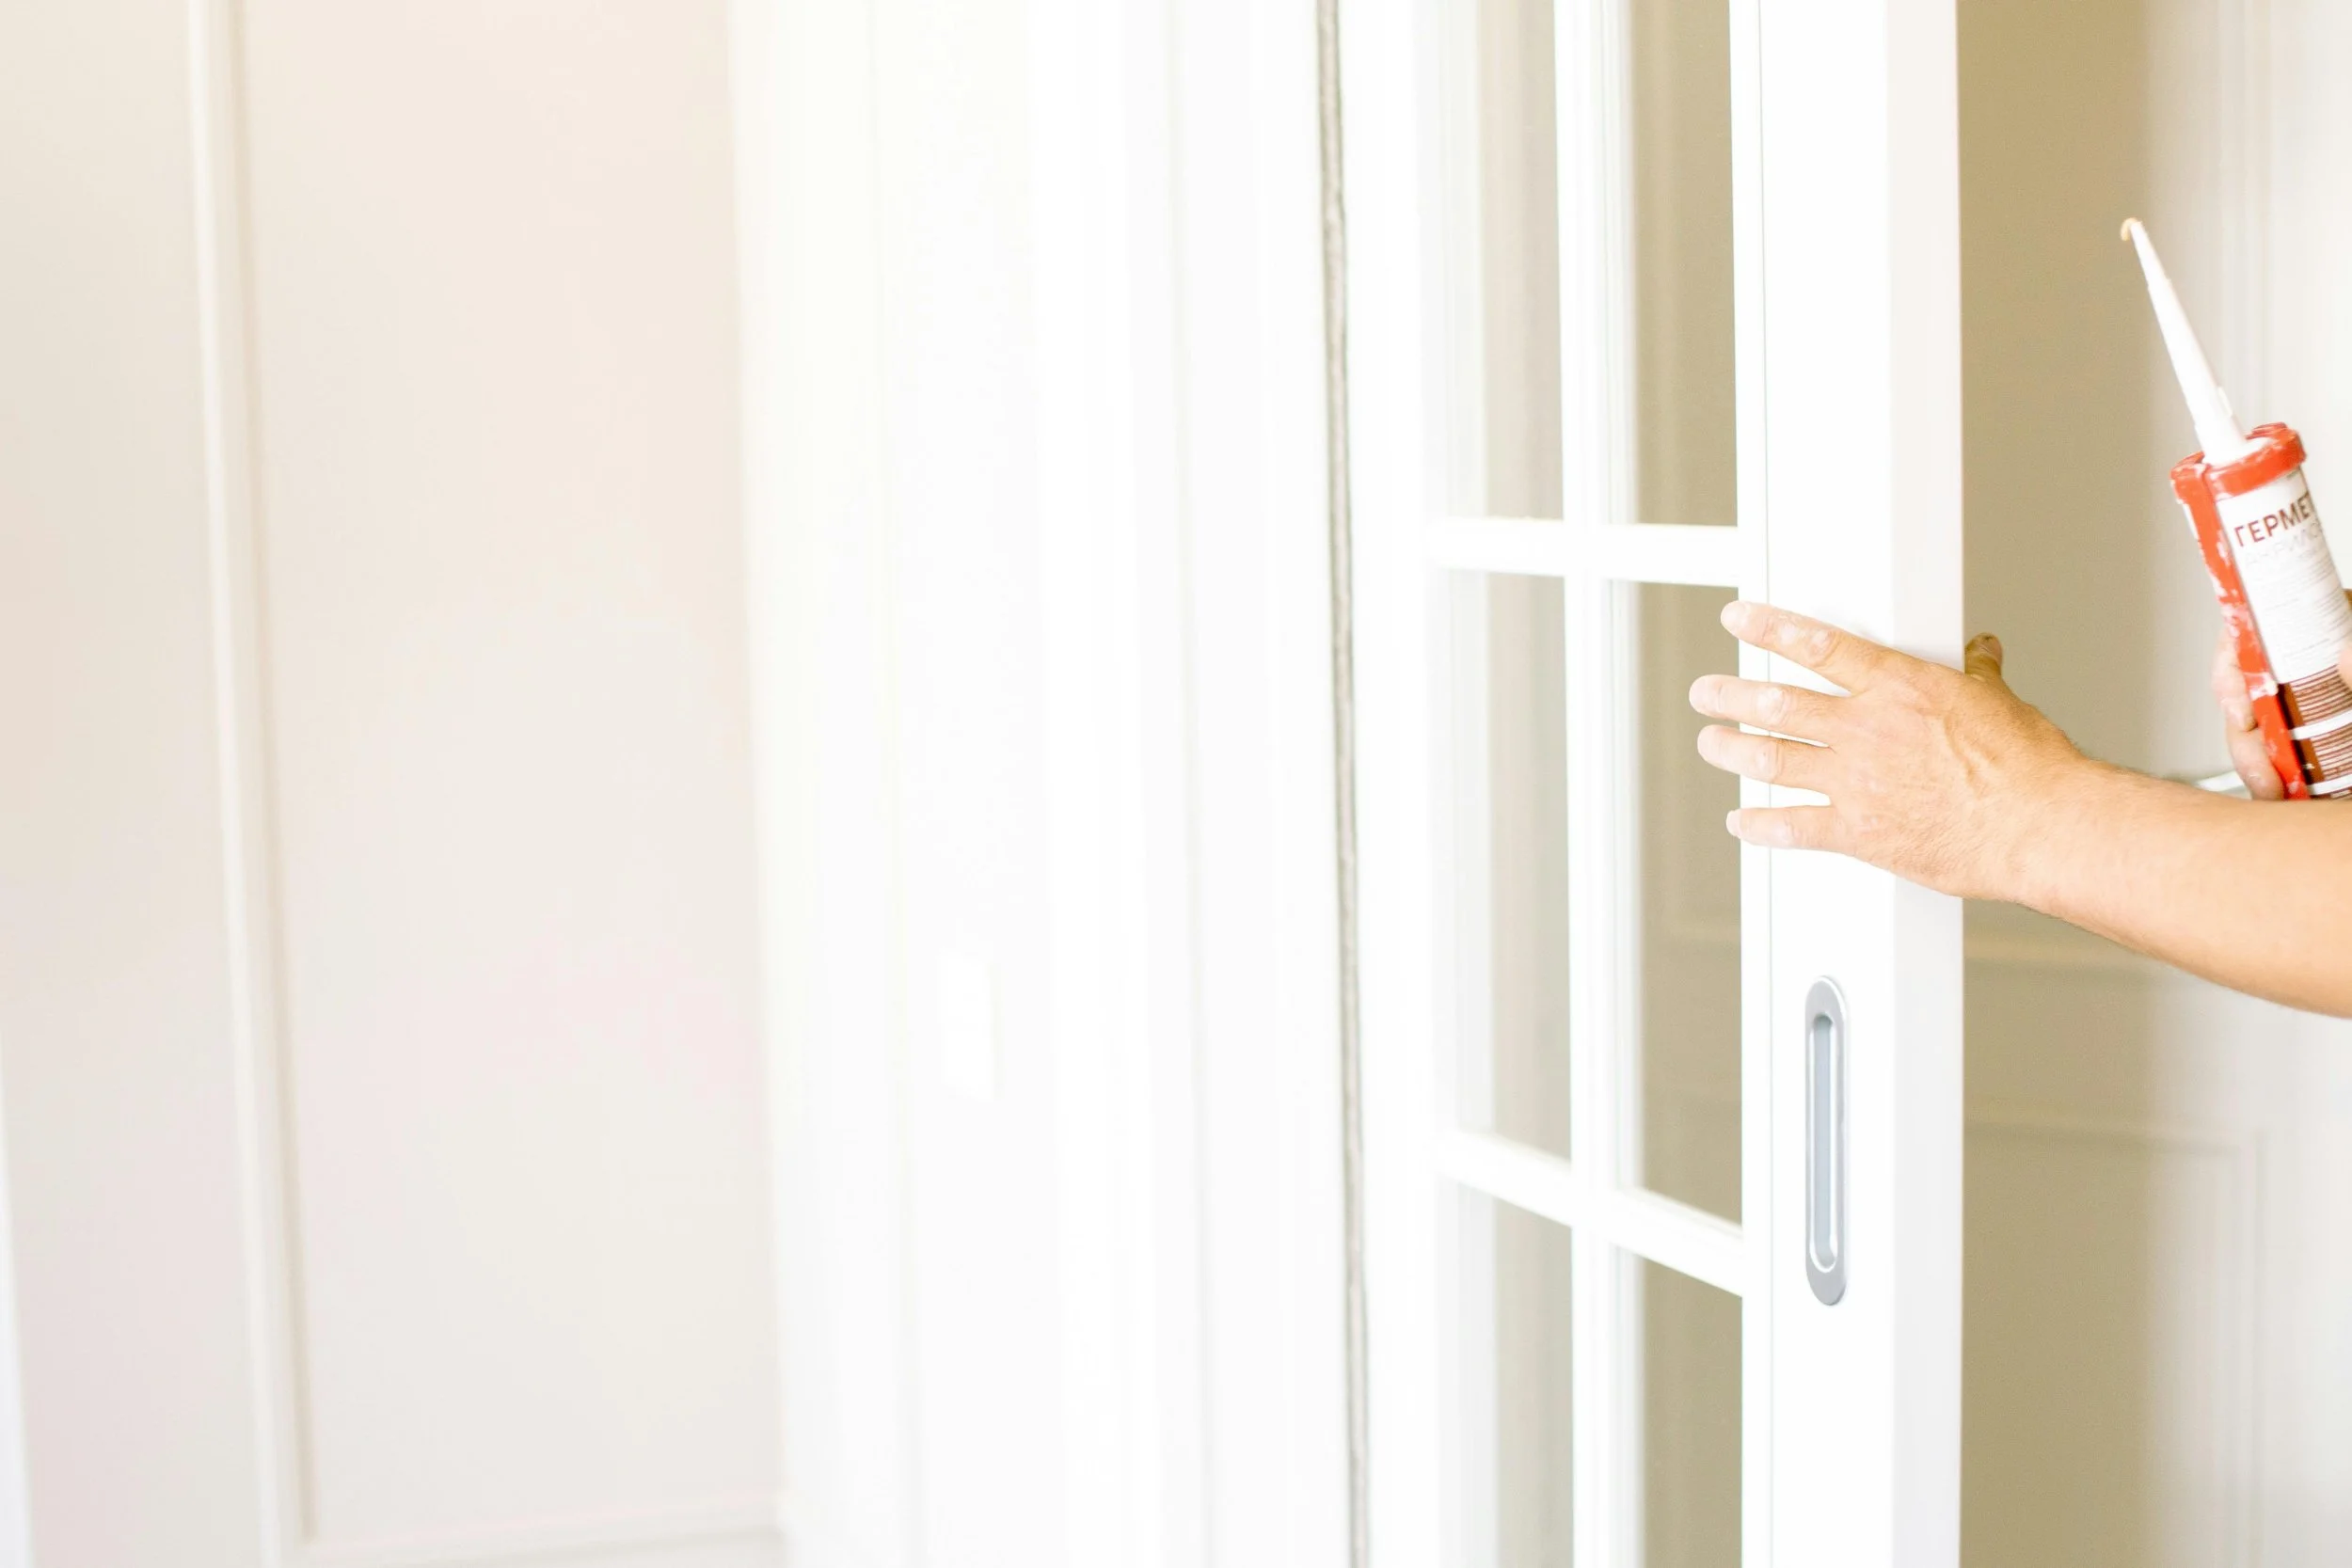
The Ultimate Guide to Caulking Trim: A Step-by-Step DIY Guide
Caulking trim is a simple but essential home improvement task that helps seal gaps, prevent moisture damage, and create a polished look. Whether you’re a DIYer or a homeowner looking for the best results, this guide will walk you through everything you need to know about caulking trim like a pro.
Why Caulking Trim Matters
Properly caulking trim is crucial for:
-
Sealing gaps – Prevents dust, pests, and drafts from sneaking in.
-
Enhancing aesthetics – Creates a smooth, seamless transition between trim and walls.
-
Preventing water damage – Keeps moisture from seeping behind baseboards and moldings.
Tools & Materials You’ll Need
Before getting started, you will need the following:
-
Caulk – Choose paintable acrylic latex caulk for indoor trim. Use silicone caulk for bathrooms or kitchens.
-
Caulk gun – Ensures smooth, controlled application.
-
Utility knife or razor blade – For removing old caulk.
-
Painter’s tape – Helps create clean, straight lines.
-
Damp rag or sponge – For quick cleanup.
-
Caulk finishing tool (or finger) – To smooth out the caulk.
Step-by-Step Guide to Caulking Trim
Step 1: Remove Old Caulk (If Necessary)
If old caulk is cracked or peeling, use a utility knife to scrape it off. Wipe down the surface to remove dust and debris.
Step 2: Apply Painter’s Tape
For crisp, professional-looking lines, place painter’s tape along both sides of the trim before caulking.
Step 3: Load the Caulk Gun
Cut the caulk tube nozzle at a 45-degree angle (about the width of the gap you’re filling). Insert the tube into the caulk gun and apply gentle pressure to test the flow.
Step 4: Apply Caulk Smoothly
-
Hold the caulk gun at a 45-degree angle.
-
Apply steady pressure and move at a consistent speed.
-
Work in small sections to maintain control.
Step 5: Smooth the Caulk
Use a damp finger or a caulk finishing tool to smooth out the caulk before it starts to dry. This ensures a clean, seamless finish.
Step 6: Remove Painter’s Tape & Let It Dry
Carefully peel off the painter’s tape while the caulk is still wet. Allow the caulk to dry fully before painting over it.
Common Mistakes to Avoid
-
Using the wrong type of caulk (silicone can’t be painted)
-
Cutting the nozzle too wide, leading to messy application
-
Rushing—caulk takes time to dry for best results
Need Professional Help? Call Elite Home Repair Services!
Caulking trim might seem simple, but achieving a flawless finish takes experience. If you want clean, professional-looking results without the hassle, Elite Home Repair Services is here to help. Our expert handymen ensure precise caulking for a polished, long-lasting look.
📞 Call us today (502) 780 -0939 to schedule an appointment – we serve Louisville and beyond!